Have you ever wondered why some ropes seem to hold up better than others under extreme pressure? The secret lies in a technique that's been perfected over centuries: end splicing. For double braid ropes, mastering this art can mean the difference between a secure, long-lasting connection and a dangerous failure.
At iRopes, we've seen firsthand how proper end splicing can transform the performance of a rope. That's why we're passionate about sharing our expertise in braided rope end splice techniques. Whether you're rigging a yacht, setting up industrial equipment, or embarking on an off-road adventure, understanding the ins and outs of end splice double braid rope is crucial.
In this guide, we'll walk you through the essential steps to create a perfect double braid end splice. You'll learn why this technique is superior to traditional knots, how it enhances your rope's strength and durability, and the common pitfalls to avoid. Plus, we'll reveal how our specially designed fastening methods can be tailored to your specific needs, ensuring your ropes perform at their best in any field.
Ready to elevate your rope game? Let's dive in and unravel the secrets of mastering end splice techniques for double braid rope.
Understanding the Basics of Braided Rope End Splice
Have you ever marveled at the strength and durability of a well-crafted rope? As an avid sailor and rope enthusiast, I've come to appreciate the art of rope splicing, especially when it comes to braided rope end splices. Let's dive into the world of rope splicing and discover why it's a crucial skill for anyone working with double braid ropes.
What is Rope Splicing?
Rope splicing is a technique used to join two rope ends or create a loop without using knots. It's like performing intricate surgery on your rope, weaving the strands together to create a seamless and robust connection. When done correctly, a splice can maintain up to 90% of the rope's original strength – quite impressive, isn't it?

Types of Rope Splices: Eye, Back, and Short
There are three main types of splices you'll encounter in the world of rope work:
- Eye splice: Creates a permanent loop at the end of a rope, perfect for securing lines to cleats or forming a strong attachment point.
- Back splice: Used to prevent the end of a rope from unraveling, similar to whipping but more durable.
- Short splice: Joins two ropes together end-to-end, ideal for creating longer lengths or repairing damaged sections.
Each splice type has its unique application, and mastering them all will make you a true rope aficionado.
Why Choose Splicing Over Knotting?
You might be wondering, "Why bother with splicing when I can just tie a knot?" Well, let me tell you, splicing offers several advantages:
- Strength: A well-executed splice retains much more of the rope's original strength compared to a knot.
- Durability: Splices are less likely to come undone or weaken over time, unlike some knots.
- Aesthetics: A neat splice looks professional and streamlined, perfect for visible rigging or decorative rope work.
- Functionality: Spliced ropes run smoothly through pulleys and other hardware without snagging.
At iRopes, we understand the importance of proper rope fastening for various applications. That's why we've developed specialized fastening methods tailored to different industries and rope uses. Whether you're rigging a sailboat or securing heavy machinery, we can recommend the perfect splicing technique for your needs.
Did you know? The art of rope splicing dates back centuries and was a crucial skill for sailors in the age of tall ships. Today, it's still an essential technique in marine, industrial, and recreational applications.
Ready to dive deeper into the world of braided rope end splices? In the next section, we'll walk you through a step-by-step guide to creating the perfect double braid end splice. Stay tuned, and don't hesitate to reach out if you need personalized advice on rope fastening methods for your specific requirements.
Step-by-Step Guide to End Splice Double Braid Rope
As we dive deeper into the world of rope splicing, let's roll up our sleeves and get hands-on with a step-by-step guide to creating the perfect end splice for your double braid rope. Trust me, once you've mastered this technique, you'll feel like a true sailor ready to tackle any rigging challenge!
Essential Tools and Materials for Double Braid Rope Splicing
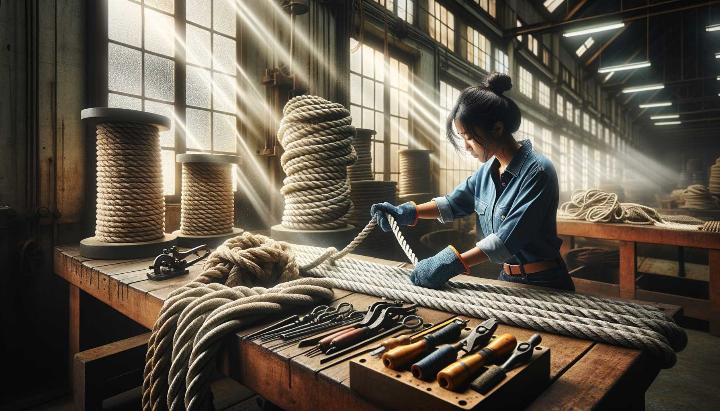
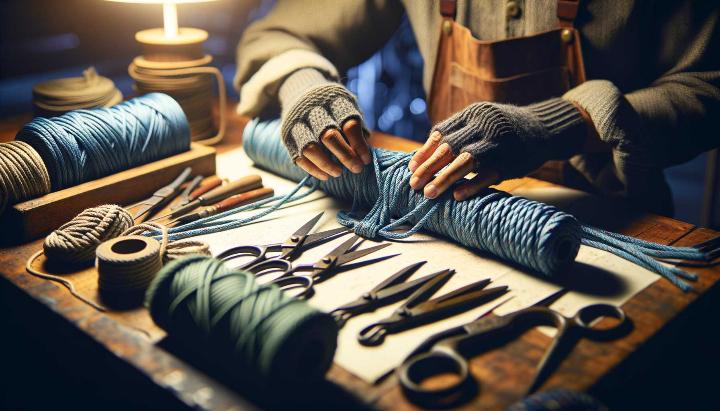
Before we begin, let's gather our tools. As a seasoned rope enthusiast, I've learned that having the right equipment makes all the difference. Here's what you'll need:
- Fid or splicing needle: This is your primary tool for weaving the rope strands together.
- Measuring tape: Precision is key in splicing, so accurate measurements are crucial.
- Marker or tape: For marking your rope at specific points during the splicing process.
- Sharp scissors or a hot knife: To cleanly cut the rope and prevent fraying.
- Whipping twine: Optional, but useful for securing the splice.
Don't have a fid? No worries! You can improvise with a smooth, tapered object like a ballpoint pen or even a sharpened chopstick. Just ensure it's sturdy enough to push through the rope strands.

Step-by-Step Process: Creating a Perfect End Splice
Now, let's break down the splicing process into manageable steps. Remember, practice makes perfect, so don't be discouraged if your first attempt isn't flawless!
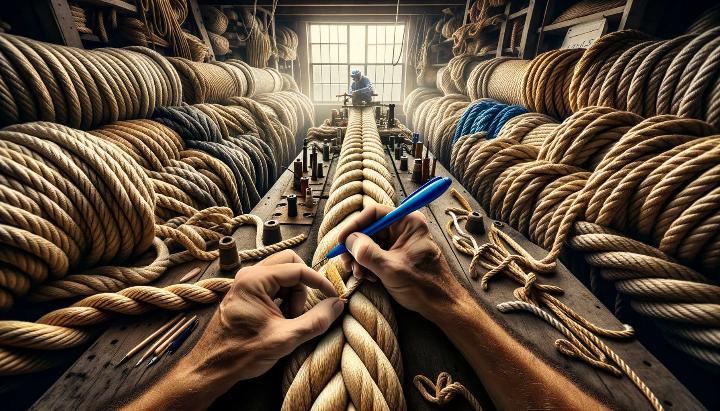
- Measure and mark: Measure about 12 times the rope diameter from the end and mark this point. This will be your extraction point.
- Extract the core: Carefully separate the cover from the core at the marked point. Gently work the core out through the cover.
- Taper the core: Cut the extracted core at a 45-degree angle to create a smooth taper.
- Prepare the cover: Push the cover back to expose about 6 inches of the core.
- Insert the fid: Thread your fid or splicing tool through the cover at the extraction point, pushing it towards the end of the rope.
- Thread the core: Attach the tapered core to the fid and pull it through the cover, creating your splice.
- Adjust and smooth: Gently work the splice to distribute the bulk evenly along the rope.
- Secure the splice: Use whipping twine to secure the end of the splice if desired.
Pro tip: As you're working, periodically stop and "milk" the rope by running your hands along it to smooth out any bumps or irregularities. This will help create a more uniform splice.
Safety first! Always wear gloves when splicing to protect your hands from friction burns. Also, be cautious when using sharp tools to avoid accidental cuts.
At iRopes, we understand that different applications require different splicing techniques. That's why we offer customized fastening methods tailored to your specific needs. For additional guidance, explore our Mastering Rope Splice Techniques article, which includes expert advice for more demanding applications. Whether you're working with yacht rigging, industrial lifting equipment, or anything in between, we're here to help you find the perfect splicing solution.
Remember, mastering the end splice takes time and practice. Don't get discouraged if your first attempts aren't perfect. Keep at it, and soon you'll be splicing like a pro! We also recommend reading our Splicing Tools for Braided Rope Solutions guide to enhance your technique. And if you ever need expert advice or custom rope solutions, don't hesitate to reach out to us at iRopes. We're always happy to share our expertise and help you find the perfect rope for your needs.
Common Mistakes to Avoid in Double Braid End Splicing
As a seasoned rope enthusiast, I've seen my fair share of splicing mishaps. Trust me, there's nothing quite as frustrating as realizing you've compromised your rope's integrity with a botched splice. Let's dive into the most common pitfalls and how to sidestep them, ensuring your double braid end splice is as strong and reliable as possible.
Preparation Errors in Double Braid Splicing
The foundation of a great splice lies in meticulous preparation. Here are some prep mistakes I've encountered (and made myself) over the years:
- Excessive tape use: While tape can be helpful, overdoing it creates friction and makes it harder to work with the rope. Use just enough to prevent fraying.
- Improper measurements: Eyeballing measurements is tempting, but it's a recipe for disaster. Always measure carefully - remember, a splice that's too short won't hold, and one that's too long wastes rope.
- Inadequate core and cover separation: Rushing this step can lead to a weak splice. Take your time to properly separate the core from the cover, ensuring you have enough length to work with.

Execution Mistakes During the Splice
Even with perfect preparation, the splicing process itself can be tricky. Watch out for these common execution errors:
- Incorrect strand count: Taking too many or too few strands when splicing can significantly weaken your connection. Count carefully and double-check before proceeding.
- Poor tapering technique: A smooth taper is crucial for a strong, low-profile splice. Avoid abrupt tapering, which can create weak points in your splice.
- Neglecting to 'milk' the splice: This step isn't just for aesthetics - it helps distribute tension evenly throughout the splice. Don't skip it!
Remember, a poorly executed splice can reduce your rope's strength by more than 10%. Take your time and focus on precision to maintain maximum rope integrity.
Post-Splicing Issues to Watch For
Your work isn't done once the splice is complete. Keep an eye out for these post-splicing problems:
- Uneven bulk distribution: A lumpy splice isn't just unsightly - it can cause uneven wear and compromise strength. Ensure your splice is smooth and uniform.
- Overlooking the finishing touches: Neglecting to properly finish your splice (like securing loose ends or adding a protective coating) can lead to premature wear or unraveling.
- Failing to test the splice: Always test your splice under controlled conditions before putting it to use. This can reveal any weaknesses before they become dangerous.
Mastering the double braid end splice takes practice and patience. Don't be discouraged if your first attempts aren't perfect - even experienced splicers make mistakes sometimes. The key is to learn from each splice and continuously refine your technique. For an in-depth understanding, you can explore more information about splicing by checking our Mastering Double Braid Yacht Rope for Superior Sailing guide.
At iRopes, we understand the nuances of different splicing techniques for various applications. Whether you're working on a yacht, setting up industrial rigging, or tackling a unique project, we're here to help. Our team can recommend the most suitable fastening methods for your specific needs, ensuring your ropes perform at their best.
Have you encountered any splicing challenges or discovered your own tips for perfect splices? We'd love to hear about your experiences! And remember, if you're ever in doubt about the best splicing technique for your project, don't hesitate to reach out to us. At iRopes, we're passionate about helping you find the perfect rope solution, custom-tailored to your unique requirements.
Mastering the art of a braided rope end splice is crucial for ensuring the strength and longevity of double braid ropes. This technique allows up to 90% of the rope's original strength to be preserved, offering substantial advantages over knotting methods in both aesthetics and functionality. This comprehensive guide walks you through each step of executing an end splice double braid rope, while highlighting common mistakes to avoid for maintaining integrity. iRopes not only specialises in these techniques but also tailors fastening methods to meet diverse industry needs, providing bespoke solutions that fit your specific requirements. Should you need assistance, our expert team stands ready to recommend the most suitable options for your applications, ensuring your ropes are up to any challenge.
Connect with iRopes for Custom Solutions
If you're keen to enhance your rope's performance through custom-designed fastening methods, fill in the form above to contact iRopes. Our specialists offer tailored advice and exquisite craftsmanship to match your unique requirements, ensuring your projects benefit from the finest, most reliable ropes available.